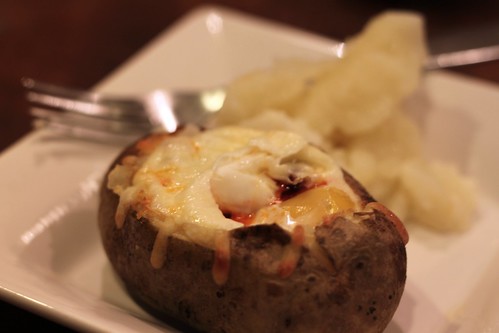
What? Why did I say that? Well lets start with something else first. While Dr. Food was away again in San Diego I made this stuffed potato. It is from Gimme Some Oven I had to make it. Looked right up my alley.
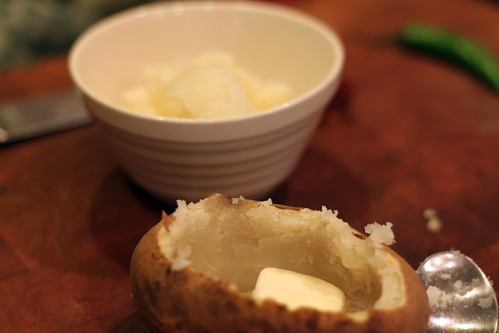
Easy. Bake a potato. Scoop out potato. Blob a little butter in there.
Recipe called for a little bacon in there. I put chorizo. "You say potato...I say PATATO. You say bacon I say CHORIZO. Potato, PATATO. Bacon, CHORIZO. Lets call the whole thing off". Sorry. I don't know what is wrong with me today. Oh be quiet. I am NOT like this everyday. Dr. Food don't you DARE say anything. Crack an egg into the damn potato.
Eat the damn potato with the egg and chorizo in it. Oh yeah I also put cheese on it. No, it isn't low calorie.
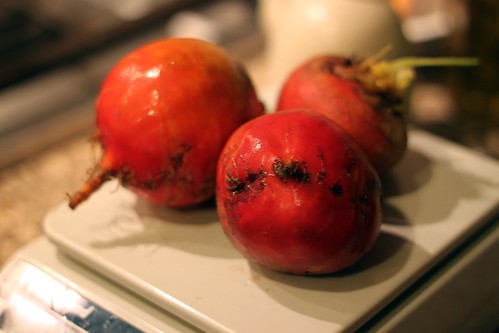
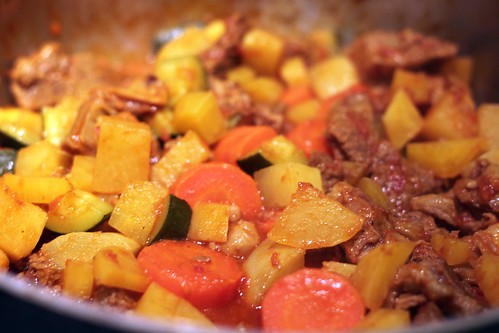
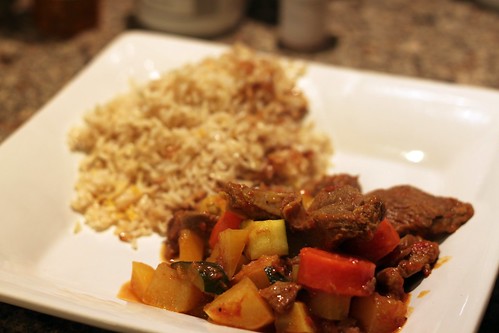
Lets change the subject to Beets. I made a wonderful dish called Hamad, Iraqi Braised Lamb with Beets and Tomatoes from Jewish Cooking in America, by Joan Nathan. I got the recipe from Splendid Table.
Really easy recipe and so good. I am sure that we will be making this again.
It really just a matter of browning the meat and chopping up some vegetables. Then you can sit on your ass for 2 hours and do nothing.
Then you can act like you worked really hard so that your husband or wife has to do the dishes.
Hamad, Iraqi Braised Lamb with Beets and Tomatoes
From Jewish Cooking in America, by Joan Nathan
Printable Version
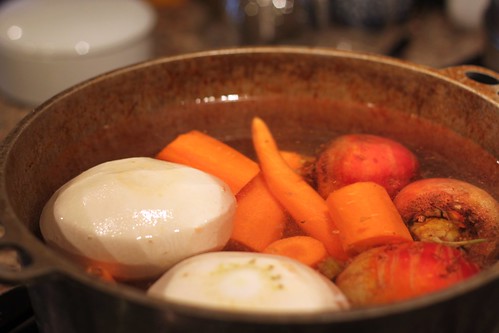
"Hamad, which means sweet and sour, is often served at Rosh Hashanah. "Iraqi meat dishes are always braised in chopped tomatoes with turmeric," said Shoshanna Sofaer, who prepared this dish at a family gathering in Washington. You can add carrots, turnips, zucchini, and parsnips to it."
3 1/2 to 4 pounds shoulder of lamb, diced in one-inch cubes
1 28-ounce can plum tomatoes, drained and diced, juice reserved
Salt and freshly ground pepper to taste
1 clove garlic, mashed
1 teaspoon turmeric
2 teaspoons sugar
2 pounds beets (I used Golden Beets)
Juice of 1/2 lemon
Cooked rice
1. In a heavy saucepan, mix together the lamb with the tomatoes, salt, pepper, garlic, turmeric, and sugar. Cook on a high flame, stirring, until the meat is brown. Then simmer, covered, on top of the stove for about 2 hours, adding more juice from the tomatoes if necessary.
2. Meanwhile, cook the beets in water to cover for about 20 minutes. When cool enough to handle, peel, and dice.
3. Add the beets to the stew and simmer, covered, about 20 minutes more. Just before serving, add the lemon juice and adjust the seasonings. Serve with white rice.
Tuesday, March 27, 2012
Tuesday, March 20, 2012
Cauliflower is the new Kale!
Hi. I don't feel like blogging but since I have an over developed sense of ... of... I don't know. Since I have this neurotic personality I felt like I HAD to. Like if I don't blog my 5 readers (waving to Julie my oldest friend that waits for me to post because she loves me and has known me most my life) won't be able to go on with their day. Like they will be slogging through their jobs, and the grocery store, and even my coworkers won't be able to do people's taxes because they are too depressed that I didn't write a blog post. I think that was just a run on sentence. Ok ok I will carry on about the pizza with a cauliflower crust.
Enter: Cauliflower. What? What Girl Scout Cookies? Oh shut up, you know that you bought a box of them too. Preservatives and all. I could tell you that I baked them myself and recreated (by hand) the box. I know OTHERS that would do so.
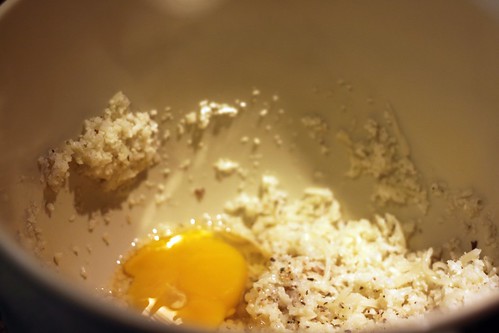
Oh yeah, the pizza. Ok, so all that you have to do is take a head of cauliflower and "rice" it in a food processor. Then you add egg and cheese and stuff (yes, I will give you the recipe. Don't whine)
And then you have a mound of goo that makes your heart sink because it doesn't look very good. But WAIT!
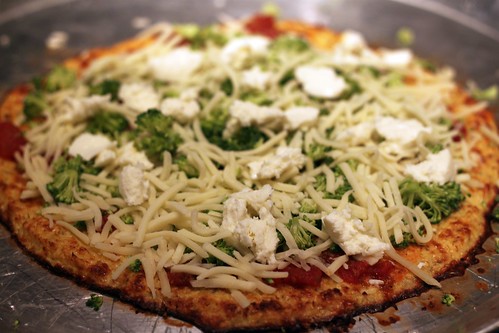
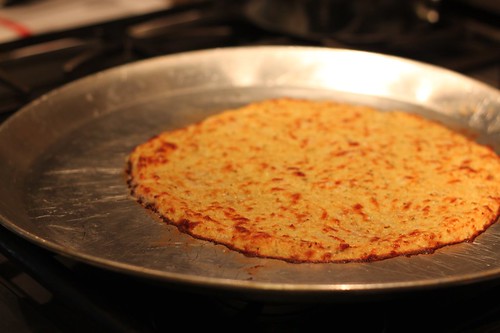
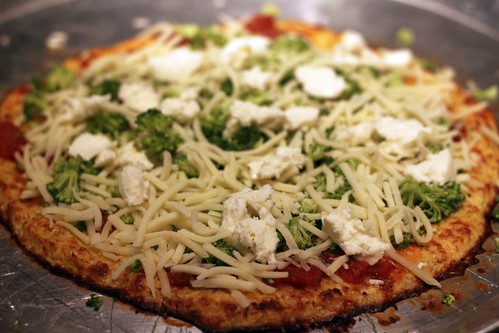
You bake it and it kinda DOES look like a pizza crust. You then add toppings. The toppings have to be cooked first because it only gets put under the broiler for a few minutes.
This one had broccoli and fresh mozzarella and tomato sauce. Uh oh forgot to take a picture after it was done. Damn! I will absolutely make this again. I will even let Dr. Food try it out. My friend Cathy shared it with me and she liked it too.
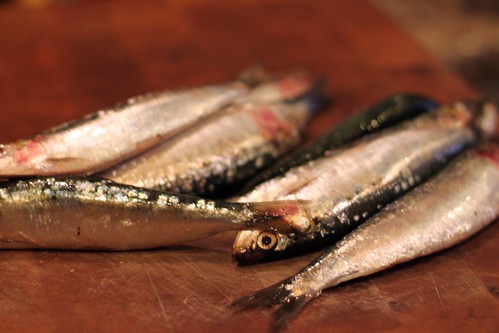
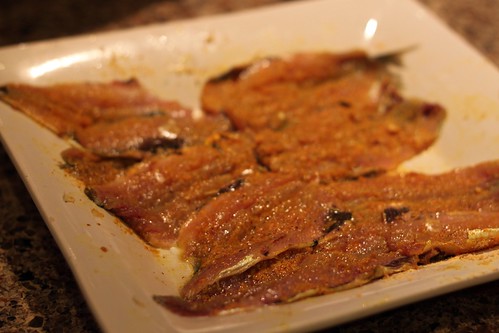
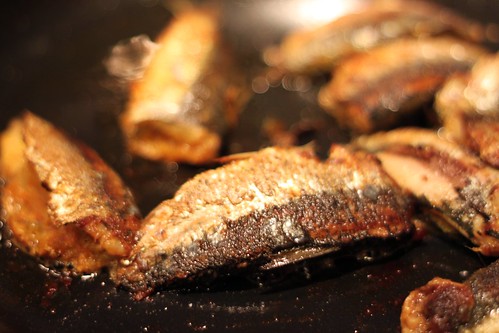
There was also Sardine night. I scored some fresh sardines and decided to try something with them. Do you know that they are one of the healthiest fish you can eat?
A bit of a pain to clean but they came out pretty good. Next time I will grill them on the BBQ.
Oh yeah and I also made a Harvey Wallbanger Cake for friends that came for dinner. It is one of my favorites (shhhhhh don't tell anyone). If you want the recipe just google "Harvey Wallbanger Cake" There are tons of the same recipe.
Cauliflower Crust Pizza
I got from eat-drink-smile who adapted from Your Lighter Side.
Printable Version
ingredients:
1 cup cooked, riced cauliflower
1 cup shredded mozzarella cheese
1 egg, beaten
1 tsp dried oregano
1/2 tsp crushed garlic
1/2 tsp garlic salt
olive oil (optional)
pizza sauce, shredded cheese and your choice of toppings*
To "Rice" the Cauliflower:
Take 1 large head of fresh cauliflower, remove stems and leaves, and chop the florets into chunks. Add to food processor and pulse until it looks like grain. Do not over-do pulse or you will puree it. (If you don't have a food processor, you can grate the whole head with a cheese grater). Place the riced cauliflower into a microwave safe bowl and microwave for 8 minutes. There is no need to add water, as the natural moisture in the cauliflower is enough to cook itself.
One large head should produce approximately 3 cups of riced cauliflower. The remainder can be used to make additional pizza crusts immediately, or can be stored in the refrigerator for up to one week.
To Make the Pizza Crust:
Preheat oven to 450 degrees. Spray a cookie sheet with non-stick cooking spray.
In a medium bowl, stir together 1 cup cauliflower, egg and mozzarella. Add oregano, crushed garlic and garlic salt, stir. Transfer to the cookie sheet, and using your hands, pat out into a 9" round. Optional: Brush olive oil over top of mixture to help with browning.
Bake at 450 degrees for 15 minutes.
Remove from oven. To the crust, add sauce, toppings and cheese. Place under a broiler at high heat just until cheese is melted (approximately 3-4 minutes).
Grilled Whole Sardines (with Thai Side Sauce)
Darlene Schmidt, About.com Guide
SERVES 2
8-10 whole sardines, fresh or frozen (see recipe for instructions on how to clean sardines)
BARBECUE RUB FOR SARDINES: (double this recipe for more than 10 sardines)
1 tsp. garlic powder
3/4 tsp. turmeric
1 tsp. salt
2 tsp. cornstarch
1/2 tsp. dry crushed chili OR 3/4 tsp. cayenne pepper
1/2 tsp. white pepper
1/8 tsp. black pepper
SIDE SAUCE:
3 Tbsp. good-tasting oil, such as coconut, canola, or olive
1 Tbsp. coconut milk OR 2 tsp. butter
1 fresh red chili, de-seeded & minced, OR 1/2 tsp. dried crushed chili or cayenne pepper
1/4 cup fresh coriander, chopped
2 Tbsp. fish sauce (available at Asian food stores)
3-4 Tbsp. lime juice
2 cloves garlic minced
1 tsp. brown sugar
Preparation:
Lightly oil the grill with a little cooking oil to prevent fish from sticking.
To make the barbecue rub, simply stir all the rub ingredients together in a small bowl.
If the sardines you are using are already cleaned and prepared, skip this step. If not, cleaning sardines is relatively easy. Make a cut along the bottom of the fish and remove the intestines and entrails (simply run your finger inside the cut). Rinse and place the fish aside to dry.
Place prepared sardines on a try or in a long casserole dish, so that they're lying flat. Drizzle with about 1 Tbsp. vegetable oil and slather evenly over the fish.
Now sprinkle the BBQ rub you made earlier over the entire surface of the fish. Gently rub it along each fish, so they appear yellow-gold. Sprinkle any remaining rub powder over the fish and set aside to marinate until your barbecue/grill is hot (at least 10 minutes).
To make the sauce: Simply place all sauce ingredients in a small pot or sauce pan. Heat very briefly (do not boil) - just warm up over medium heat to bring out the flavors, and it's ready! Taste-test for salt, adding more fish sauce if not salty enough, or another squeeze of lime juice if too salty for your taste. Add a little more sugar if too sour. (Note: You only need a teaspoon of this sauce per fish, as it's very flavorful.)
Before grilling, make sure your grill is lightly oiled or the sardines will stick. Grill the fish until cooked - about 5-8 minutes each side. When done, the fish will appear golden and the skin will be crisp.
Enjoy the fish as is, or spoon over the sauce for an extra Thai treat. The sauce is also very nice with rice. ENJOY!
Tuesday, March 13, 2012
BonChon and my revenge
Dr. Food is in trouble. He has been gone 3 out of the 4 weeks in the last month. So, I will get my revenge. Dr. Food (hence forward referred to as "Dr. Poophead") has been in India and China and now California. I did get to see him for two days. Then Sunday he was off again.
I remember when we travelled together. We went to places and had fun. Ha! Now he leaves me behind in New England to fend for myself.
Ok ok. So, while Dr. Poop is away being important I am becoming a Vegetarian (Evil Grin). THAT will show HIM. Really. When he comes home I switch back and pretend that I am not. I have been infiltrating the home front when he is home though. Exhibit 1.
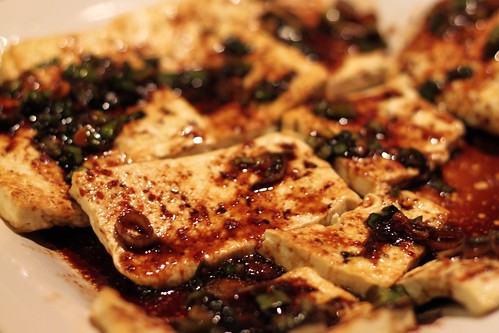
I called it Banchan (Korean side dish) and he fell for it.
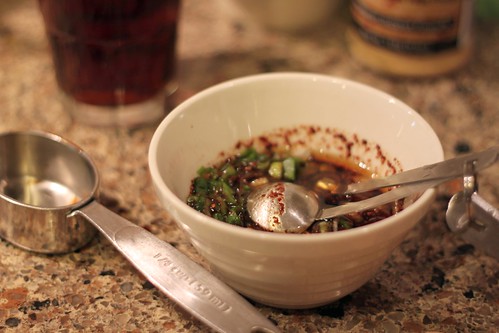
It really is an easy and wonderful dish. I swiped it from Sunny-side Up Recipes
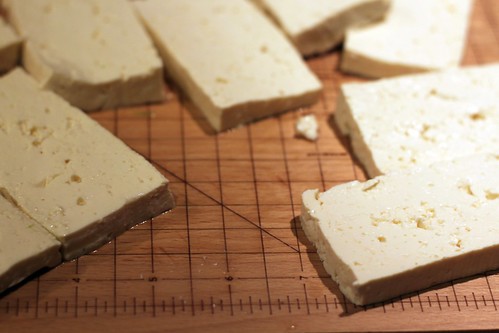
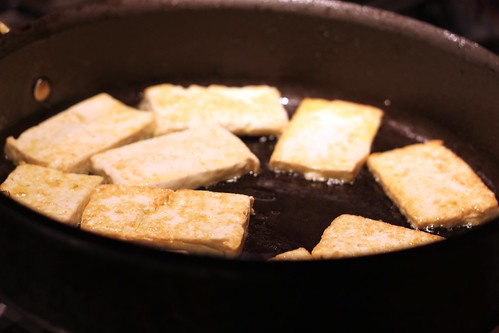
Tofu is just sliced up and then browned up a bit in a pan.
Don't tell him but now that I got him to eat this I am trying out a Pizza that has a crust made out of Cauliflower and a "Yum Yum" Sauce that has Nutritional yeast in it instead of cheese. BWHAAAAA!
Ah, but then so the good doctor didn't catch on, I suggested we make Korean Fried Chicken
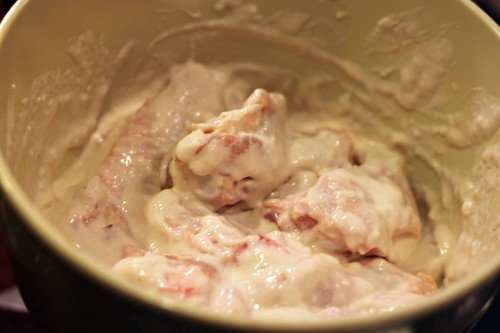
This dish is really time consuming but well worth it. Since I wouldn't eat something fried like this more than 1 or 2 times a year I can see making it again one day.
One of the secrets to this extra crispy chicken is that it is fried twice. Also, the oil should be kept at a steady temperature. Oh give me a break about the fried thing.
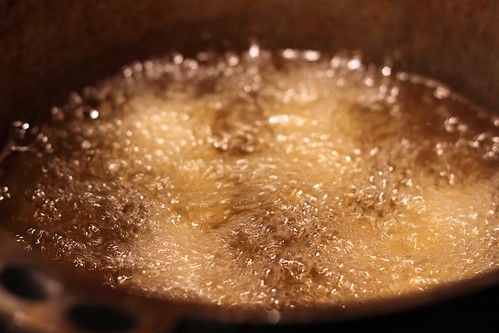
Not like I eat this every night. Want to see what I ate last night while Dr. Poop was chowing down at a restaurant?
Baked potato with tuna (Sorry sissy, I know I just made you gag).
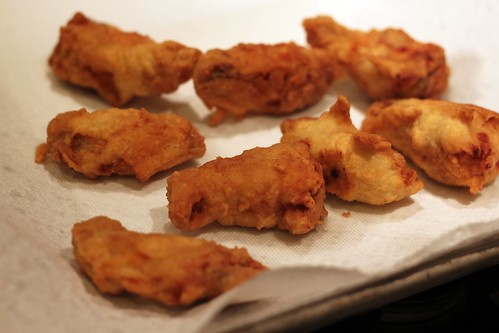
Here is the chicken after the second fry.
Voila. Chicken after it is coated with the secret sauce. Ok, quit whining. I gave you the recipe below.
Dr. Poop made a Korean potato salad. It was really good.
One more thing...
Dear Coworkers that pretend you don't read my blog: The thing that I cooked in the microwave the other day that you were all drooling over is this recipe here. I think you should make it. It is healthy.
Korean Fried Chicken
Gourmet Issue 127
Printable Version
Canola oil, for frying
5 cloves garlic
1 1 1⁄2" piece peeled ginger
3 tbsp. soy sauce
3 tbsp. gojujang (Korean chile paste)
1 1⁄2 tbsp. rice vinegar
1 tbsp. Asian sesame oil
1 tbsp. honey
2⁄3 cup flour
1 tbsp. cornstarch
16 chicken wings (about 1 3⁄4 lbs.)
1. Pour oil into a 6-qt. pot to a depth of 2". Heat over medium-high heat until a thermometer reads 350˚. Chop garlic and ginger in a food processor. Add soy, gojujang, vinegar, sesame oil, and honey; purée. Put sauce into a bowl.
2. Whisk flour, cornstarch, and 2⁄3 cup water in another bowl. Add chicken; toss. Working in 3 batches, fry chicken until golden, 6–8 minutes. Drain on paper towels. Return oil to 350˚. Fry chicken until crisp, 6–8 minutes more. Drain again. Toss chicken in sauce.
Korean Potato Salad
Adapted from About.com
Printable Version
4 small-medium potatoes, peeled and cubed
2 hard boiled eggs, yolks removed and cut into small chunks
1 small carrot, cut into small chunks
1/2 small cucumber, thinly sliced
1/2 small yellow or sweet onion, thinly sliced and diced
1 small asian pear, cut into small chunks
3/4 cup mayonnaise (we used Kewpie)
Salt and pepper to taste
Preparation:
Boil potatoes until tender, about 10 minutes. Add carrot (and eggs if not yet hard-boiled) for the last 8 minutes.
While cooking, sprinkle salt on the cucumber and onion and let them sweat for about 10 minutes.
Remove potatoes and carrot (and eggs) and let cool. If necessary, cut egg whites into small chunks.
Rinse cucumber and onion lightly and squeeze out excess water with paper towels.
In large bowl, mix all ingredients together gently with mayonnaise.
Serve as a side dish or as a sandwich filling.
(Serves 6)
Pan-fried Tofu
Sunny-side Up Recipes
Printable Version
1 block of medium to firm tofu
1/4 cup soy sauce
1 tbsp sesame oil
1 tsp hot pepper powder (flakes are okay, but if you can find powder, that's better)
2 tbsp chopped green onions
1. Mix the soy sauce, sesame oil, hot pepper powder, and green onions together in a small dish. Set aside.
2. Open and drain the package of tofu, then slice into 1/2" thick rectangles.
3. Heat a frying pan on medium, and drizzle some vegetable oil. Once oil is hot, add the tofu slices into the pan without allowing them to overlap. You'll have to do this in shifts, as most frying pans aren't big enough to hold all the slices.
4. After cooking on one side for about 5 minutes, flip it over carefully and cook the other side for another 5 minutes.
5. Remove from heat and make a layer of fried tofu in a dish, preferably one that has high-ish walls.
Over that layer, spoon some of your soy sauce mix on top.
Add another layer of tofu and spoon more soy sauce on it. Repeat this process until all layers of tofu have sauce between them.
Sunday, March 4, 2012
Noodles are my new BFF
Hi! Yeah, it has been a while. Since we spoke last I went to California for Annie's birthday. I got to see Parker. Parker had the stomach flu the night before I arrived. The first night I was there Annie got the stomach flu. Next night? Yup. Me.
But you know what? It was totally worth it to get to see my sweeties. All of them. Parker, Annie and Tim and Evan. I even got to meet Evan's sweetie. Ok ok, enough about me and more about food.
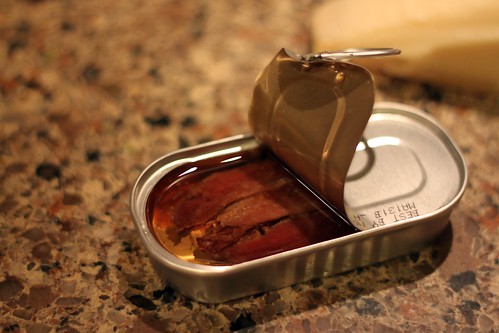
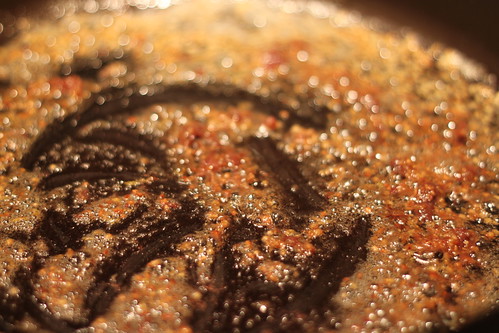
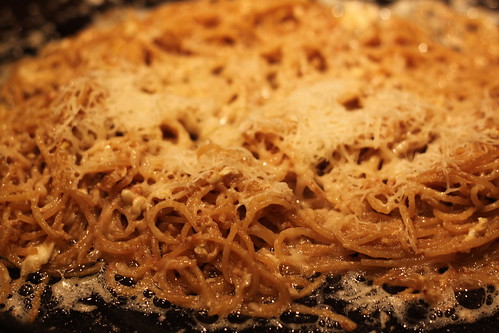
Dr. Food is in China and India. I am cooking for me. I resorted to an old favorite food when Dr. Food is gone. Anchovy and garlic in Pasta with parmesan and an egg on top.
I was still feeling a bit "meh" and the egg broke. I ended up scrambling it into the pasta. Tasted good.
I always let the pasta get a little crunchy.
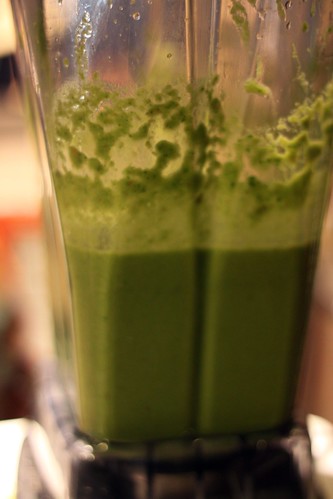
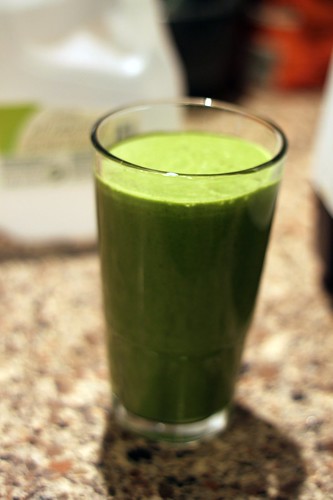
While I was in California (day before I got sick) Annie got me addicted to Green Shakes. Now I can't stop. So, I have been drinking lots of em while Dr. Food is away.
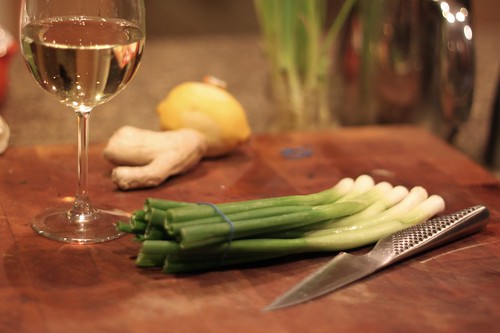
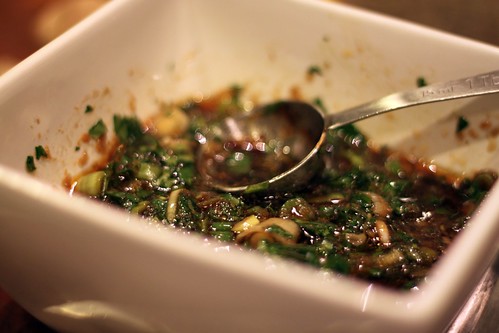
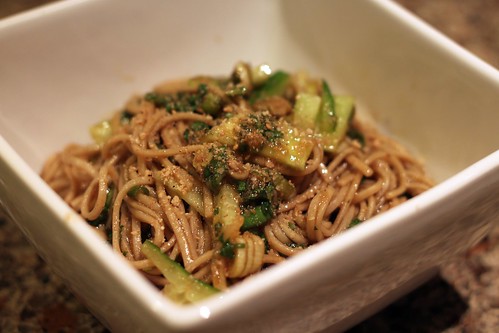
Yum...Kale, Orange, Ginger, Carrot! This led me down the slippery slope of eating healthy. I was perusing Pinterest and saw a recipe for Soba Noodles with Sweet Ginger Scallion Sauce. Oh.My.God. Make it. Just do it. It is now one of my very favorites.
So easy. I love you Simply Reem "What? You don't know me? I know but that is ok"
The sauce would be good for anything. Well, not anything, but chicken or fish.
"Soba Noodles I love you!
Soba Noodles yes, I do!
Soba Noodles are my bff!
Soba Noodles are better than Teff!
Soba Noodles Marry Me!
Soba Noodles I want some tea!
Soba Noodles I must go!
Soba Noodles steal the show!"
Shut up I am not crazy I am bored.
Just make this!
Soba Noodles with Sweet Ginger Scallion Sauce
by www.simplyreem.com
Printable Version
Soba noodles – 1 9oz packet.
Salt and Pepper as per taste.
Sesame seeds – 2 Tbsp lightly toasted.
Cucumber thinly julienne optional.
Lime wedges optional.
For Sweet Ginger Scallion Sauce-
Scallions – 1 ½ cup finely chopped.
Ginger – 2 Tbsp minced.
Cilantro – ¼ cup chopped.
Sesame oil/ grape seed oil/ any neutral oil – 2-3 Tbsp.
Chili oil – 2 tsp.
Soy sauce – 1Tbsp.
Rice wine vinegar – 2 Tbsp.
Honey – 2 Tbsp.
Salt – 1 tsp, as soy sauce is salty too so be careful with the salt.
Black pepper – 1 tsp.
Mix all the ingredients for Sweet Ginger Scallion sauce in the bowl, check for the seasoning. Keep it aside for 10 -15 minutes for the flavors to develop.
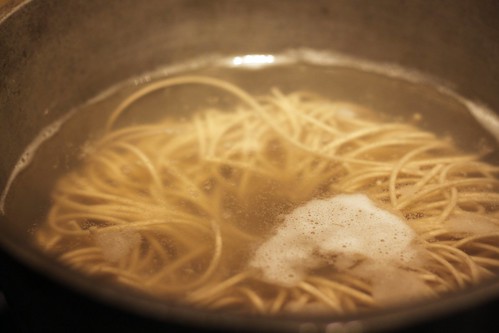
Boil the soba noodles as per the instruction on the package, If you need them cold drain well with the cold water once they are cooked or just drain the water in which they boiled if you like them hot.
Add the sauce, sesame seeds and toss the noodles well, check for the seasoning one last time. Sprinkle lime juice if you like and also if you like add some julienne cucumber, give a final toss and Enjoy!!!
Subscribe to:
Posts
(
Atom
)